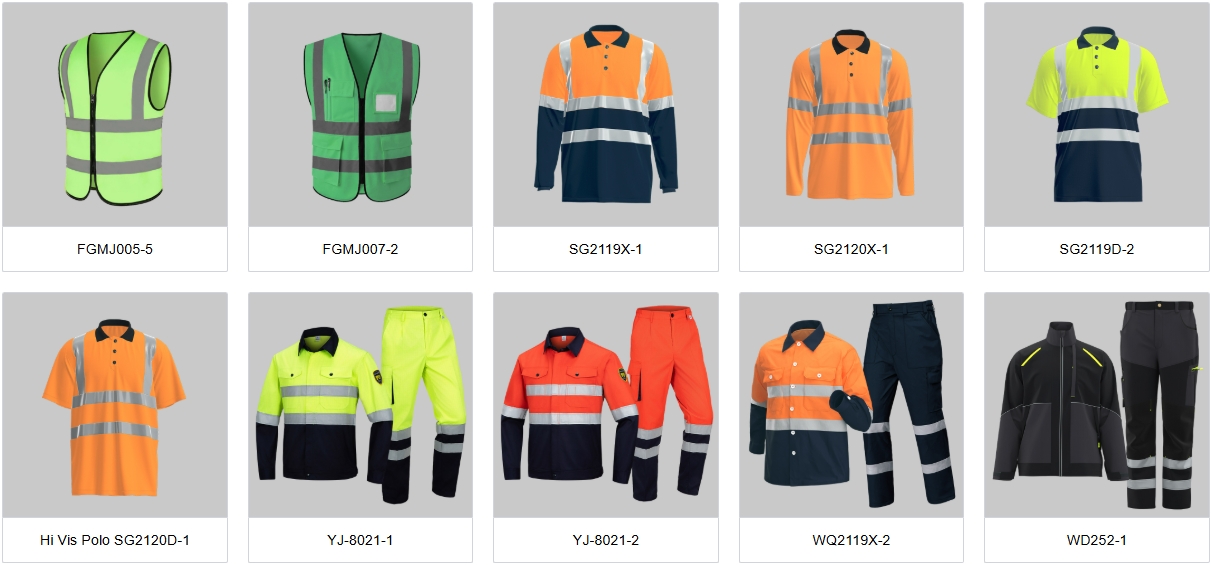
Work shirts with logo and name
Author:HAIYUAN TIME:2025-09-20Read:
Work shirts with both a logo and an employee's name are a standard for professional uniforms, promoting both brand identity and individual recognition. This is common for technicians, mechanics, field service staff, and supervisors. Here’s a breakdown of everything you need to know, from styles and placement to the ordering process.
Why Add a Name?
- Professionalism: Creates a polished, uniform look.
- Accountability: Makes employees easily identifiable to customers and managers.
- Customer Service: Builds rapport; it's easier for a customer to talk to "Sarah" than "that technician in the blue shirt."
- Team Morale: Gives employees a sense of ownership and pride in their uniform.
Popular Shirt Styles for Logos + Names
The best style depends entirely on the job function and desired image.
The most classic and professional look is a logo on the left chest and a name on the right chest. This balances the design and makes both elements easy to read.
How to Add the Logo and Name (Branding Methods)
The same methods apply as before, but consistency between the logo and name is key.
- Embroidery (Most Popular for this application)
- How it looks: Professional, durable, and high-quality. The logo and name are stitched with thread.
- Best for: Twill shirts, polo shirts, and heavier fabrics. The gold standard for a professional appearance.
- Consideration: For very small text (like long names), readability can be a challenge. A skilled embroiderer will advise on the best font and size.
- Screen Printing
- How it looks: A flat layer of ink on the fabric. Great for bold designs.
- Best for: T-shirts, performance fabrics, and large orders where the design is simple.
- Consideration: Can feel stiff on the fabric. Not ideal for complex logos or small details on names.
- Heat Transfer Vinyl (HTV)
- How it looks: A vinyl layer is pressed onto the shirt. Can be various colors and even mimic a stitched look.
- Best for: Polos, t-shirts, and when you want a specific color match that thread can't provide.
- Consideration: Less durable than embroidery over many washes, can crack or peel.
The Ordering Process: A Step-by-Step Guide
Ordering personalized items requires more organization than a generic logo order.
- Choose the Shirt: Select the make, model, color, and sizes you need. Always order a sample first to check the fit and quality.
- Finalize Your Logo: Have a high-resolution vector file (.AI, .EPS, .SVG) of your logo ready.
- Choose a Font for the Names: The supplier will typically have a standard font for names. You can often choose from a selection (e.g., block font, script). Keep it simple and readable.
- Create and Submit Your Name List: This is the crucial step. You must provide a spreadsheet with:
- Employee First Name (e.g., Maria)
- Employee Last Name (e.g., Rodriguez)
- How to Display (e.g., "Maria", "M. Rodriguez", "Rodriguez", "Maria R.") – Be consistent!
- Shirt Size (e.g., M, L, XL)
- PRO TIP: Send the list to each employee for them to verify their name spelling and size. This prevents costly errors.
- Get a Digital Proof: The supplier will create a visual proof showing exactly how the logo and a sample name will look on the shirt. Check this carefully!
- Production and Delivery: Once you approve the proof, the shirts go into production.
Where to Buy
- Uniform Companies: Cintas, UniFirst, Aramark. They are set up for this kind of recurring, personalized order and often include laundering services.
- Promotional Product Companies: 4imprint, Staples Promotional Products, Vistaprint. Excellent for one-off orders. Their websites are designed to easily upload your logo and name list.
- Local Embroidery Shops: Perfect for smaller orders. You can develop a relationship with them and often get quick turnarounds.
Final Tip: Clearly communicate the naming convention to your team (e.g., "First name only," "First and last initial," etc.) before collecting sizes. Consistency across the workforce looks the most professional.

